If you are reading this page, then maybe you have looked at all the software and hardware options listed in our Introduction to Automation post and you have decided to look further. Maybe you have made your choice to use Home Assistant or maybe you are curious. Disclaimer, Home Assistant is addictive and you will lose hours of time coming up with amazing automations. There are hundreds of website articles and Youtube videos on Home Assistant, but we will look at the setup from a mobile Campervan perspective.
Hardware Options

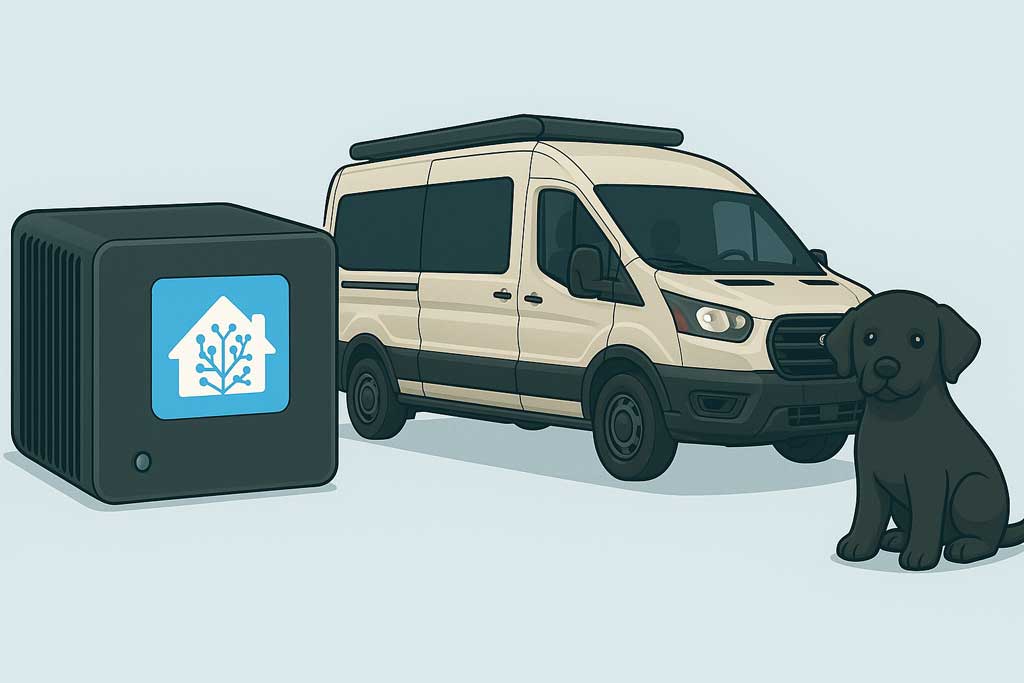
Home Assistant is a software product and so you have to decide what hardware you are going to use to run it. Each option has pros and cons: maintenance, setup ease, cost and a few others.
It goes without saying, that using your laptop or desktop in a van probably will not work. You will need dedicated hardware or a NAS to allow Home Assistant to be running all the time. When choosing your hardware option, consider the following:
- Power consumption, unless you have a very large battery bank, this is crucial to consider.
- Power requirements, is it AC or DC, can the power supply, transformer be replaced with a DC option.
- Physical dimensions, space is always at a premium in our Campervan, we do not have room for a server rack.
DIY Hardware
The first option is to use a Single Board Computer (SBC). These are very well known in the hobby sphere and people tinkering with Internet of Things (IOT) and micro computing. The most well known is the Raspberry Pi, but there are others available, here are some common options used for Home Assistant:
Raspberry Pi is the OG of all Simple Board Computers (SBC). Typically these are used by hobbyists as they need some knowledge to put all the components together. You purchase a compute module, power supply, storage module, case etc.
An alternative is to purchase the Home Assistant Green , this is a SBC type unit all on a single board. It is not based on Raspberry Pi CPU, but instead a different CPU. It requires no separate compute module to be installed as it includes its own compute module. It includes USB, compute, microSD storage, power supply and memory all in a case. This option is great for anyone who doesn’t really want to put hardware together and just wants a low cost, low power SBC style option. Unfortunately these are often out of stock and hard to get your hands on. They are normally about £130.
Home Assistant Yellow is a nice neat convenient case which takes a Raspberry Pi 4 compute module. Again you will need some knowledge to put the hardware together but it is very straightforward just adding the compute module, much easier than building a Raspberry hardware system and worrying about cables and cases etc. There are several options available, with or without the compute module and even without a case, so be careful ordering the right option. Unfortunately these are often out of stock and hard to get your hands on. They are normally about £120.
Mini PC (Our Recommendation)
Mini PC’s (or NUCs as they are often called) are now pretty cheap, include a lot of features and are fairly low power (20W-30W). Some Mini PCs draw just 18W, a little more than the DIY hardware but still fairly low.
When looking for Mini PCs, concentrate on models with Intel N95, N100, or N150 processors. Also maybe Celeron N5105 processors. These are low power and in most cases power enough. Other higher power processors are available, but beware the power draw will be greater. Here are some options:
BeeLink N100 £149, includes N100 CPU, 16GB RAM, 500GB SSD, WIFI6, HDMI2, USB3.2 Gen2, Bluetooth. Power usage max 25W but will typically be 10-15W. This is more than powerful enough for most users and a fair price.
The unit itself will be 12V and come with a 12V likely 3A adapter. If connecting it directly to your DC supply, remember to use a power regulator to ensure it is exactly 12V you supply to the unit.
NAS
Choosing a NAS just for Home Assistant probably doesn’t make sense, especially in a van. However there are some edge cases where it may be a good option. This is actually the option we use and for some of these reasons:
- Large storage needed, maybe for video, photography or a large movie library. Also if you plan to have a good CCTV system, then this offers storage.
- Large number of apps or containers. we have a dev, test and prod environment as we tinker a lot, so we have a lot of apps running.
- You already have one spare moving into a van. Be careful with this one, only use a NAS which consumes low power and preferably SSD only, especially if you are recording CCTV when driving.
Your NAS will typically have its own operating system, e.g. TrueNAS, Asustor, QNap or Synology, so this will limit your Home Assistant installation type. You will be limited to installing full HA OS into a virtual machine or HA Container into Docker or some other container product.
We use the Asustor FLASHSTOR 6 (FS6706T) NAS, which will be over the top for most. For the above reasons it offers lots of storage for photos and video and allows me to run 15 or so Docker containers. Being a full SSD NAS also removes any issues of regular hard drives breaking due to vibration in transit, we can leave the unit running all the time allowing the CCTV to record always if needed. It only draws about 10W when idle and up to 30W when in heavy use.
Installation Options
There are two options available, depending on your hardware choice. The Home Assistant website has a good comparison table
Home Assistant Operating System
This is a linux operating system with the Home Assistant software and a few other things built in, designed to run the Home Assistant ecosystem on single board computers (e.g. the Home Assistant Green or a Raspberry Pi) or Virtual Machines. It is the most convenient option in terms of installation and maintenance and it supports add-ons. For many users, this option is probably the best way forward.
- Install on Raspberry Pi. The Home Assistant website has a great tutorial on how to get the HA OS onto a Raspberry Pi.
- Home Assistant Green. The Green comes with HA OS already installed.
- Install on a Mini PC. Some simple steps to install the HA OS image:
- Create a Ubuntu based bootable USB drive.
- Edit the BIOS of your Mini PC and allow boot first from USB.
- Insert the USB drive into your Mini PC and boot from it.
- In Ubuntu open a browser and download the HA OS image.
- Open the Disks application and restore the image to your Mini PC C: drive.
Home Assistant Container
Container-based installations of Home Assistant allow you to run HA on the operating system of your choice by using a container product, typically Docker. Docker is a container based app that allows you to easily install and manage applications by placing each one inside a container. A container is just a virtual box that contains the app code, files, libraries and settings. This allows the same hardware to be used for a test install and a production install. There are other container products, but for the purposes of our blog posts we just deal with Docker.
The container version of HA does not include the Add-Ons part, so there is some knowledge needed as you will need to install each add on in a separate docker container.
Installing and managing docker is beyond this article, maybe for a future one.
Our Recommendation
Unless you are a serious automation user, we recommend a Mini PC with the HomeAssistant OS. This is a great option for the price and it gives the easier HA OS install option. Raspberry PI’s are nowadays underpowered and overpriced in our opinion. If you need multiple HA installs for test and prod style setup or are very IT savvy then containers are the way to go.